Birth Certificate Replacement: The Complete Step-by-Step Checklist Everything You Need to Get Approved the First Time
Blog post description.
1/27/20262 min read
Birth Certificate Replacement: The Complete Step-by-Step Checklist
Everything You Need to Get Approved the First Time
If you’ve read even a few articles on birth certificate replacement, you’ve probably noticed one thing:
The process isn’t hard — it’s unforgiving.
Most people don’t fail because they can’t fill out a form.
They fail because they miss one requirement, choose the wrong option, or assume rules are the same everywhere.
This final guide puts everything together into a single, clear, start-to-finish checklist so you can submit once, get approved, and move on.
Step 1: Identify the Correct Record
Before doing anything else, confirm:
The state or local office that issued the original record
Whether the record is state-level, county-level, or city-level
Submitting to the wrong office guarantees delay.
Step 2: Confirm Eligibility
Ask:
Am I requesting my own certificate?
Am I legally allowed to request it for someone else?
If you’re applying for another person, verify:
Relationship eligibility
Authorization or court requirements
Eligibility without proof is treated as ineligibility.
Step 3: Choose the Correct Certificate Type
For almost all official uses, you need:
A certified copy
Usually the long-form version
Avoid:
Informational copies
Genealogical copies
Short-form versions unless explicitly accepted
Choosing the wrong type is the #1 reason people pay twice.
Step 4: Prepare Identification and Proof
Before submitting, gather:
Valid government-issued photo ID
Proof of name changes (if applicable)
Proof of relationship or authority (if applicable)
Any required notarization
Everything must be clear, readable, and current.
Step 5: Decide the Best Submission Method
Choose based on your situation:
Online for simple, standard cases
Mail for name changes, legal documents, or complexity
In-person for urgent or ID-limited cases
Using the wrong method causes unnecessary delays.
Step 6: Verify Fees and Payment Method
Confirm:
Correct state fee
Accepted payment types
Cost for additional copies
Order extra copies now if you’ll need them later.
Step 7: Submit Once — Completely
Before submitting, double-check:
All fields are accurate
All required documents are included
Names match or are properly documented
Partial submissions almost always come back.
Step 8: Track and Protect the Certificate
After approval:
Track delivery carefully
Store the certificate securely
Limit how often you use the original
Keep backup copies safe
Protection prevents repeat replacement.
The Pattern Behind Almost Every Failure
Requests fail when people:
Guess state rules
Rush under deadline pressure
Follow generic advice
Trust “official-looking” third-party sites
The process rewards clarity, not speed.
Why Most People End Up Doing This Twice
They don’t see the whole process at once.
They see pieces:
An article here
A form there
Advice from a forum
Without a complete view, mistakes are inevitable.
The Advantage of Having the Full Process in One Place
When you understand:
What applies to your state
Which certificate type works
How eligibility really works
Which method fits your case
The process becomes predictable.
That’s the difference between stress and confidence.
Want This Entire Checklist — Plus State-Specific Guidance?
This article gives you the framework.
The guide gives you the exact details.
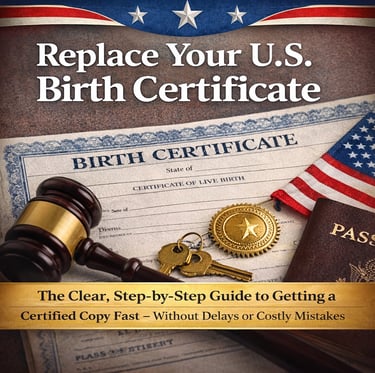
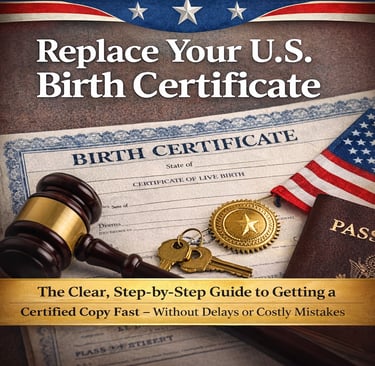
👉 Replace Your U.S. Birth Certificate
The Clear, Step-by-Step Guide to Getting a Certified Copy Fast — Without Delays or Costly Mistakes
Inside, you’ll find:
State-specific rules and links
Eligibility breakdowns
Certificate type decisions
ID and documentation checklists
Submission strategies that work
So you don’t guess — and you don’t repeat the process.
One guide. One submission. One approval. Done.https://replacebirthcertificate.com/replace-birth-cert-guide
Help
Fast, clear help for your birth certificate
Contact
infoebookusa@aol.com
© 2026. All rights reserved.